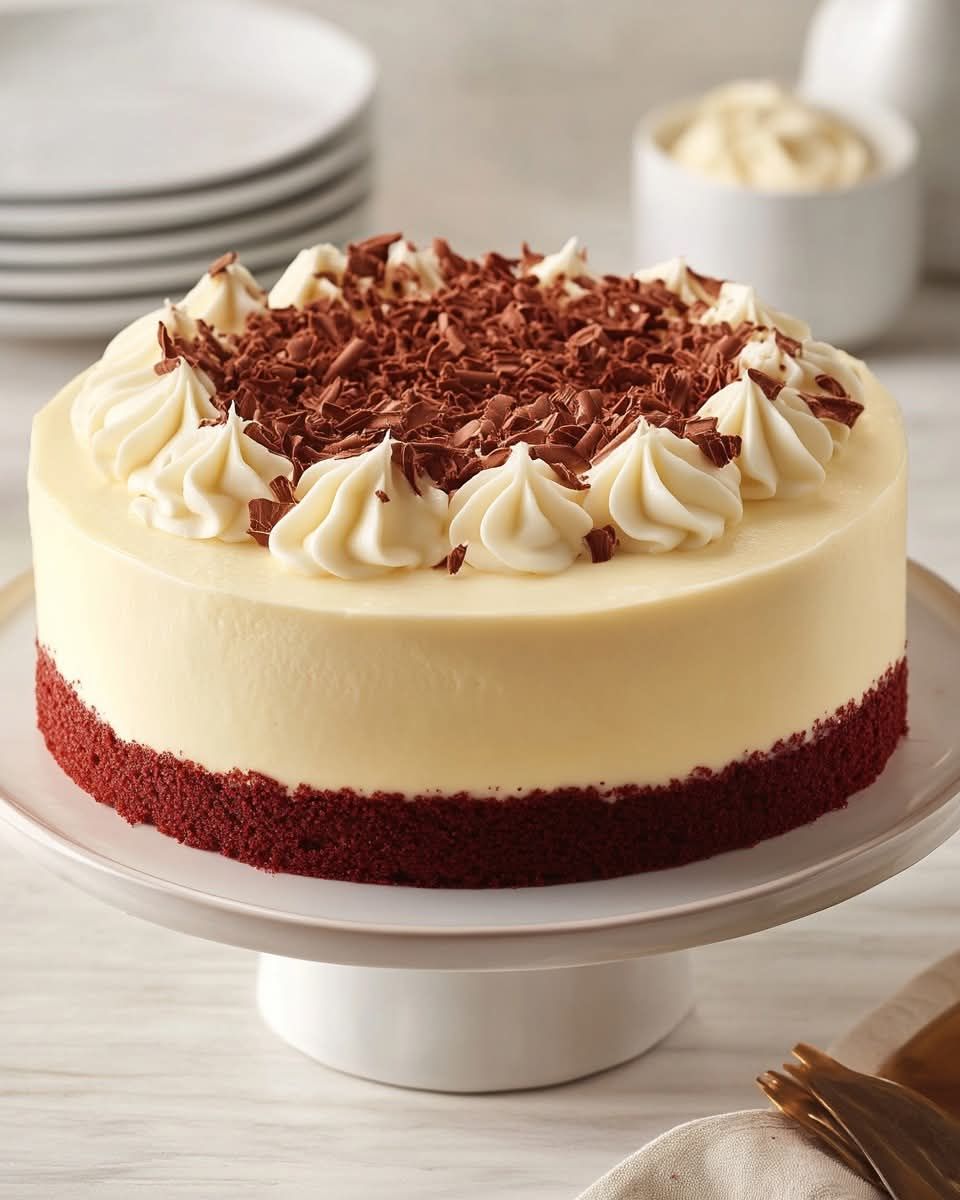
A luxurious fusion of red velvet cake and creamy cheesecake layers
Description:
This decadent dessert features a moist red velvet cake base topped with a silky, tangy cheesecake layer, all finished with whipped cream or cream cheese frosting. It’s a showstopper perfect for holidays, birthdays, or any indulgent occasion.
Origin:
Red velvet cake is a Southern U.S. classic, beloved for its tender crumb and signature red hue. This version elevates it by marrying it with New York-style cheesecake, blending chocolate and cream cheese into a rich, elegant dessert.
Ingredients (Serves 10–12):
🧁 Red Velvet Cake Base:
- 1 cup (200g) granulated sugar
- ½ cup (120ml) vegetable oil
- 1 large egg
- 1 teaspoon vanilla extract
- 1 tablespoon red food coloring
- 1 teaspoon white vinegar
- ½ cup (120ml) buttermilk
- 1 ¼ cups (160g) all-purpose flour
- 1 tablespoon unsweetened cocoa powder
- ½ teaspoon baking soda
- ¼ teaspoon salt
🍰 Cheesecake Layer:
- 16 oz (450g) cream cheese, softened
- ⅔ cup (135g) granulated sugar
- 2 large eggs
- ½ cup (120ml) sour cream
- 1 teaspoon vanilla extract
- 1 tablespoon all-purpose flour
🍥 Topping (optional):
- Whipped cream or cream cheese frosting
- White chocolate curls or red velvet crumbs for garnish
Instructions:
🔹 1. Prepare the Red Velvet Layer:
- Preheat oven to 175°C (350°F). Grease a 9-inch springform pan and line the bottom with parchment paper.
- In a bowl, whisk together sugar, oil, egg, vanilla, food coloring, vinegar, and buttermilk.
- In a separate bowl, sift together flour, cocoa powder, baking soda, and salt.
- Add dry ingredients to wet in batches, mixing just until smooth.
- Pour the batter into the prepared pan and bake for 20–22 minutes, or until a toothpick inserted comes out clean.
- Let it cool while preparing the cheesecake layer.
🔹 2. Make the Cheesecake Layer:
- Beat cream cheese and sugar until smooth and creamy.
- Add eggs one at a time, beating after each addition.
- Mix in sour cream, vanilla, and flour until smooth.
- Pour the cheesecake batter over the cooled red velvet cake layer.
🔹 3. Bake the Cheesecake:
- Place the springform pan in a larger pan and pour hot water halfway up the sides (water bath method).
- Bake at 160°C (325°F) for 45–55 minutes, until the center is slightly jiggly but edges are set.
- Turn off the oven, crack the door open, and let the cheesecake cool inside for 1 hour.
- Refrigerate for at least 4 hours or overnight.
🔹 4. Decorate and Serve:
- Remove from springform pan and top with whipped cream or cream cheese frosting.
- Garnish with chocolate curls, red velvet crumbs, or berries if desired.
- Slice with a warm knife for clean edges.
Tips for Success:
- Use room-temperature ingredients for a smooth batter.
- Avoid overmixing the cheesecake layer to prevent cracks.
- Chill fully before serving for best texture.
- Use a water bath for a smooth, even bake.
Recommendations:
- Perfect for Valentine’s Day, Christmas, or birthdays.
- Pairs beautifully with coffee, milk, or a raspberry coulis.
- Store refrigerated, tightly covered, for up to 5 days.
Nutrition (per slice, approx.):
- Calories: 480
- Protein: 6g
- Carbs: 45g
- Fat: 30g
- Sugars: 35g
- Sodium: 300mg
- Ideas saludables de Ensaladas Navideñas
- 🌶️ Homemade Canned Chili Peppers

- Chocolate Chip Cookie Bars
- SIMPLE CROCK POT MEATLOAF
- Oven Baked Glazed Honey Garlic Sausages

- Porcupine Meatballs

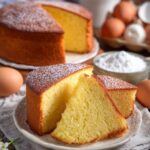
- Simple Vanilla Sponge Cake
- Spinach, Avocado & Egg Bowl with Roasted Sweet Potato

- Fresh & Flavorful Grilled Chicken Pasta Bowl with Herb Yogurt

- Spicy Cajun Chicken Rigatoni in Creamy Mozzarella Alfredo

- Mediterranean Grilled Chicken Plate with Garlic Herb Yogurt & Tomato Salad

- Epic Herb-Grilled Chicken with Roasted Veggie Medley

- Creamy Dreamy Chicken Alfredo with Broccoli Fettuccine

- Caramel Oreo Drip Cheesecake

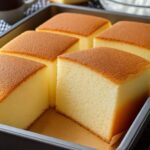
- Soft Castella Cake (Japanese Kasutera)
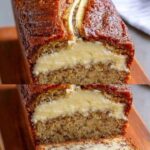
- Cream Cheese Stuffed Banana Bread
- Oven-Baked Chicken Thighs with Potatoes

- Grandma’s Cherry Delight Dessert

- Grilled Chicken Salad with Greek Blue Cheese Dressing

- Zesty Lemon Butter Fish Fillet

- Summer Mango Passionfruit Smoothie

- Summer Chocolate Chip Cookie Dough Layer Cake

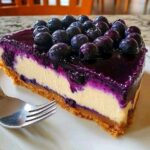
- Fresh Blueberry Cheesecake
- Moist Orange Loaf Cake
- Summer Strawberry Cheesecake Shake

Would you like a mini cheesecake cupcake version, no-bake option, or gluten-free adaptation of this recipe?